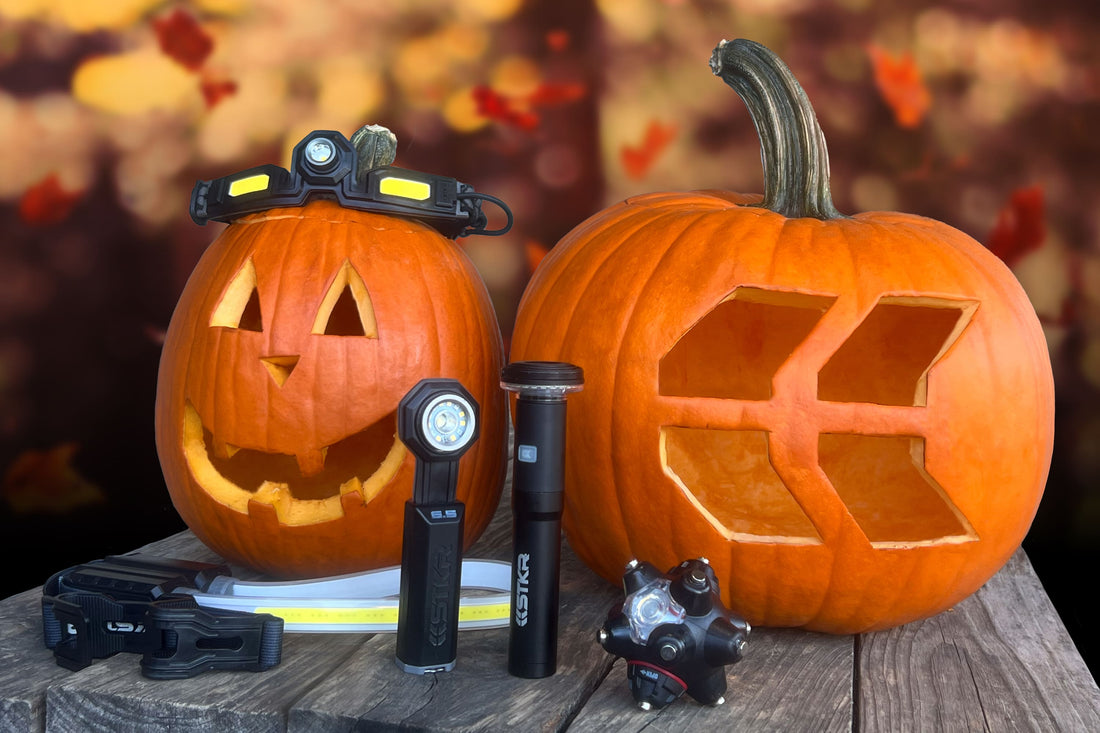
Brighten Up Your Halloween with STKR Lights: A Step-by-Step Guide to Carving the Perfect Jack-o'-Lantern
Share
Halloween is just around the corner, and it’s time to get creative with your pumpkins! Carving a jack-o-lantern is a fun, festive activity for all ages, but nothing brings your masterpiece to life quite like the right lighting. STKR lights like the FLEXIT Pocket Light, FLi PRO, and Light Mine PRO are perfect for making your pumpkin shine bright all night long. We’ve created an easy step-by-step guide to carve a stunning pumpkin and learn how our lights can transform your Halloween decorations.
Step 1: Gather Your Supplies
Before you start carving, make sure you have everything you need:
- A pumpkin (any size you prefer)
- Pumpkin carving kit (knife, scooper, and carving tools)
- Stencil or marker for your design
- STKR lights to bring your jack-o'-lantern to life!
- Newspaper or table covering to catch the mess
Pro Tip: Attach a pumpkin scoop tool to your power drill to make pumpkin gut removal quick, easy, and a LOT more fun!
Step 2: Choose the Perfect Design
 |
Think about the look you want for your jack-o'-lantern. Whether it's a classic spooky face, a cute character, or an intricate pattern, a well-thought-out design makes carving easier. Use a stencil or draw your design directly on the pumpkin with a marker. |
Step 3: Prep Your Pumpkin
 |
Cut a circular lid around the stem of your pumpkin, angling the knife inward so the lid doesn’t fall through. Make sure the lid is large enough for your hand to easily reach inside the pumpkin. Once you have your lid cut, scoop out all the seeds and stringy bits until the inside is smooth. You can throw these out, or use the seeds and insides to make a sweet treat after you’re done carving your pumpkin! Make sure to carve out a flat surface at the bottom of the pumpkin so you can place your light inside securely. |
Step 4: Carve with Care
Follow your stencil or design, starting from the center and working your way out. Take your time with intricate details, and don’t worry if it’s not perfect—imperfections add character!

Step 5: Add the Magic - Light It Up!
Once your pumpkin is carved, it's time for the best part: adding your STKR light! Unlike traditional candles, our lights are safer, brighter, and have various colors and modes, allowing you to customize the look of your pumpkin even more.
Here’s why our lights are perfect for the job:
- Brightness: Our lights are designed to provide even, bright illumination, making your pumpkin visible from a distance.
- Safety: No more worrying about open flames. Our battery-operated LED lights are cool to the touch and can run for hours without overheating.
- Color Options: Choose from a range of colors or switch to a multi-color mode with the FLi PRO to make your pumpkin stand out.

Step 6: Display Your Glowing Creation
Place your lit jack-o'-lantern on your porch, windowsill, or anywhere you want to create a spooky (or friendly) Halloween atmosphere. Thanks to STKR lights, your pumpkin will shine bright all night, giving trick-or-treaters a warm, festive welcome and keeping the ghosts away.
Carving a jack-o'-lantern is a Halloween tradition, but what truly makes your pumpkin pop is the light inside. With our lights, you can enjoy safe, vibrant, and customizable lighting that elevates your Halloween decorations. Ready to get started? Check out our range of lights [insert link] and make this Halloween your brightest yet!
Have you carved a pumpkin with our lights this year? Share your creations with us on social media!


LIGHTING SUGGESTIONS FOR YOUR PUMPKINS:
 FLi-PRO |
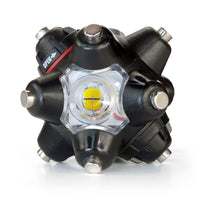 Light Mine Professional |
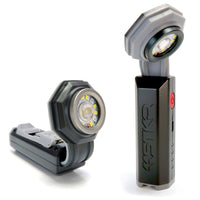 FLEXIT Pocket Light |
 FLEXIT Under Hood Light |

